Have you ever thought about creating your child's next birthday invitation, or maybe you just need to design a simple poster. No matter what the project, creating your own design documents can be a fun and exciting process, but there are a few things that you need to keep in mind. Proper file format, color accuracy, and bleed are all things that you need to remember when creating your own design files.
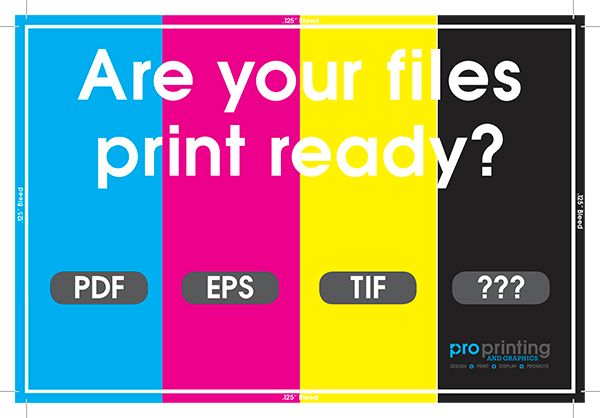
When submitting files for print it is important to have the proper file format. Whether you design your document in Photoshop, InDesign, Illustrator, or even Publisher, the optimal file type for us to print is a PDF. Exporting your files as a PDF ensures that the colors, fonts, and links all remain the same. To export your file as a PDF in Photoshop, Illustrator, or Publisher simply choose the Save as command and choose Adobe PDF in the Format drop-down menu. If you are working with a document in InDesign choose File, and then Export to convert your file to a PDF.

Color accuracy is another important aspect of designing for print. To ensure better color quality you should always convert your design to a CYMK color mode. The printers in our office use CMYK, so changing your document to CMYK will help the color print correctly. It is important to remember that a computer screen reads color in RGB mode, so your colors may print slightly different than what is seen on your computer screen.
Finally, designing your document with a bleed can be a big time-saver for the printer. A bleed is a printing term used to refer to the extra image added to a document when the color runs to the edge of a page. Printers cannot actually print to the very edge of a page; therefore, and bleed must be added so the document can print on a larger sheet of paper and be trimmed down to the correct size. The below image may help you better visualize the bleed area.
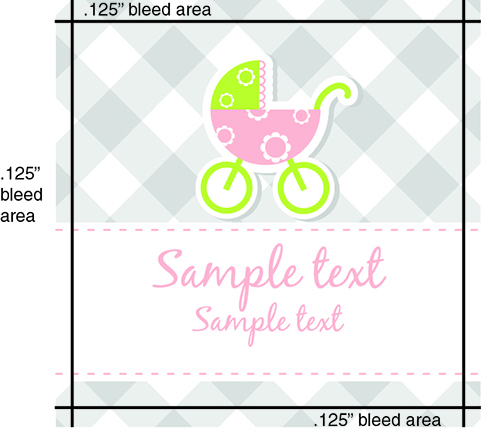
Full bleed printing is only possible when the project is printed on larger sheets, then trimmed down to size. It is relatively simple to plan for bleed during the designing process. Each design program addresses bleed differently, so we have put together some tips for the main programs we see.
InDesign: InDesign is best suited for print. You can set up both bleed and margins in the “Document Setup” box when creating a new document. Simply bring your bleeds and margins up to 0.125 inches for top, bottom, inside, and outside. Your document will have visible lines for you upon creation.
Illustrator: In the initial “Document Setup” window, set your bleeds to 0.125 inches for both top, bottom, inside, and outside. You cannot set up margins in Illustrator, so you will have to use guides once your document is open.
Photoshop: This one is a little more tricky. You will have to add ¼ inch (.25) to your final document size in order for your photoshop document to account for bleed. For example, if your document is 8.5” x 11” then you will need to set the document up in Photoshop to be 8.75” x 11.25”. The edge of your page will be where you need to extend all bleeding images and graphics. You can use the rulers to create guides for your trim and safety margins.
Publisher: Publisher is pretty similar to Photoshop when it comes to bleeds. To set your document up to bleed, simply add .25” to your document size in the Page Setup window.
Word: Unfortunately, you cannot set up a full bleeding document in Word.